Get a free custom domain for Office 365/Azure AD from www.myo365.site!
Did you know that you could get a free custom domain for your Office 365 or Azure AD tenant?
As a Microsoft Certified Trainer (MCT) I’ve trained Office 365 administration to hundreds of people. An extremely important part of the Office 365 administration is the management of custom domains. However, I’ve noticed that the students have always had challenges to get access to DNS to test and evaluate Office 365. Therefore I decided to create a service where you can easily get a free custom domain with all required DNS records!
You’ll find the service at www.myo365.site. Below I’ll tell you how to get and use a free custom domain.
1. Claiming a domain
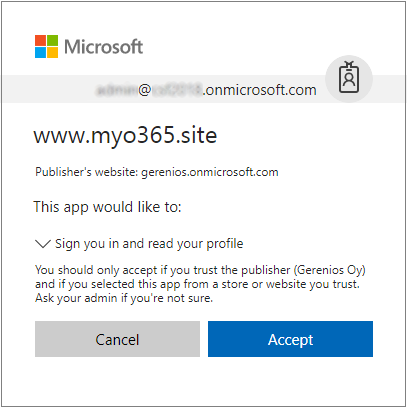
First, you need to browse to www.myo365.site and click login. You will be asked for a consent to access your user information. This is used only for authentication so you can safely accept.
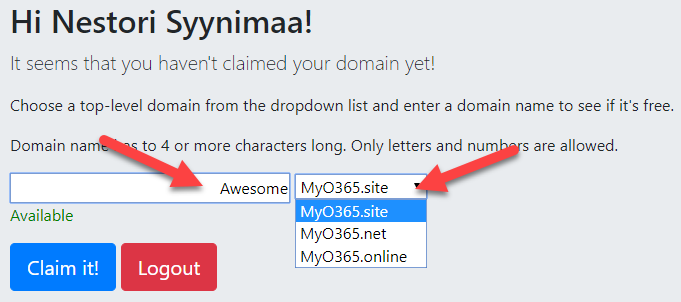
Next step is to claim a domain. Basically, you can choose any domain from the three second-level domains (myo365.site, myo365.net, and myo365.online). After you’ve chosen your domain name, click Claim It!.
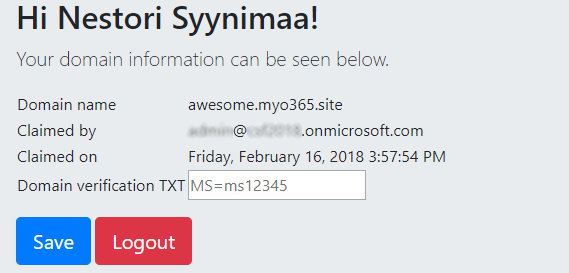
When you’ve successfully claimed your domain, you can manage it (TXT record).
2. Adding a custom domain to your tenant
The second step is to add the custom domain to your tenant. You can use either PowerShell or the admin center to do this.
2.1. PowerShell
First, we need to add the claimed custom domain to your tenant.
New-MsolDomain -name Awesome.MyO365.siteNext, we need to find out the verification DNS record:
Get-MsolDomainVerificationDns -DomainName Awesome.MyO365.site -Mode DnsTxtRecordYou should see the output such as below. Copy the MS=msXXXXXXXX value to the clipboard.
Label : Awesome.MyO365.site
Text  : MS=ms71184682
Ttl   : 3600
2.2. Office 365 Admin Center
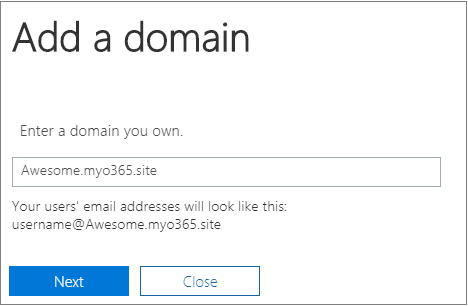
First, we need to add the claimed custom domain to your tenant. In Admin Center, browse to Setup > Domains and click Add domain.

Enter the name of the domain you claimed and click Next
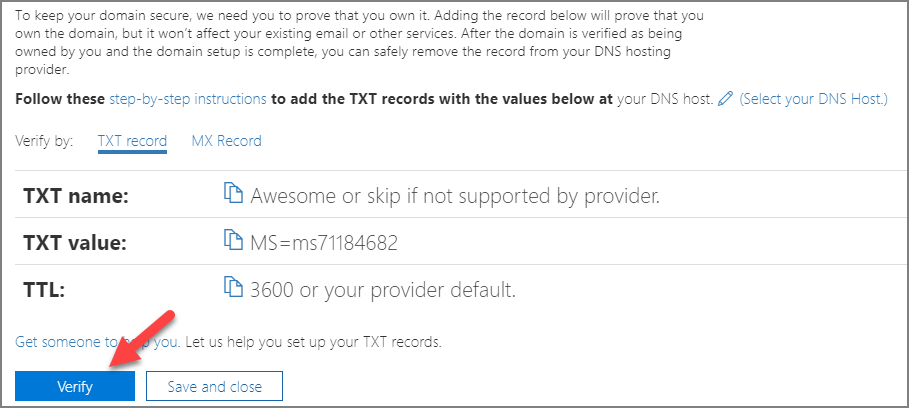
Copy the MX=msXXXXXXXX value to the clipboard.
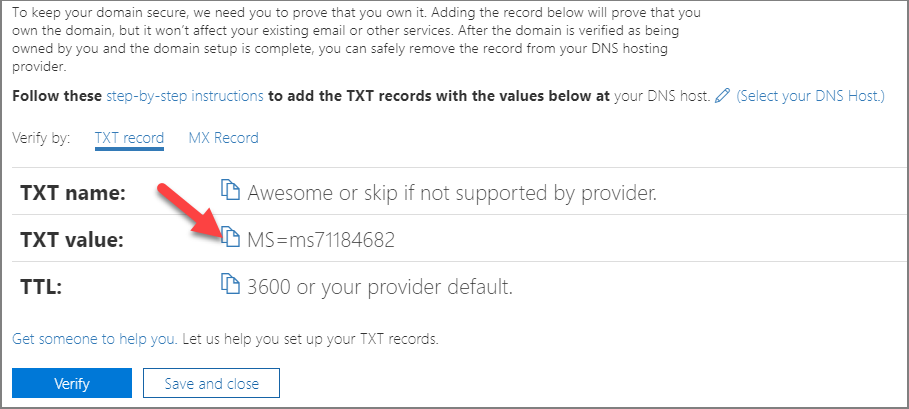
3. Verifying the custom domain ownership
First browse back to www.myo365.site and enter the TXT value you copied.
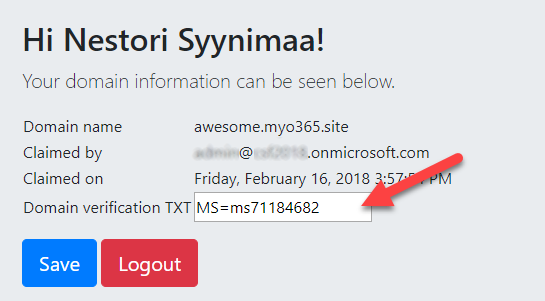
Click Save and you should see the saved TXT value.
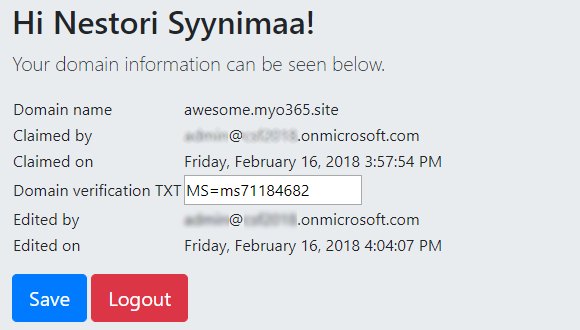
The verification of the custom domain can be done using PowerShell or the admin center.
3.1. PowerShell
Enter the following command to verify the ownership:
Confirm-MsolDomain -DomainName Awesome.MyO365.siteYou should have the following confirmation:
        Availability AvailabilityDetails
        ------------ -------------------
AvailableImmediately The domain has been successfully verified for your acco...
You can check the status of your domains using the following command. Enter the following command to verify the ownership:
Get-MsolDomainAnd that’s it! If you see your domain as verified, your custom domain is ready to use!
Name                    Status   Authentication
----                    ------   --------------
Awesome.MyO365.site     Verified Managed
Note! Your domain is likely to appear as “Setup in progress” in admin center. This is just an indication that the admin center has not checked the DNS records, so everything is still working fine! If you like to, you can check the DNS records by opening your domain in admin center and by clicking Continue setup.
3.2. Office 365 Admin Center
Browse back to Office 365 Admin center and click Verify.
And that’s it! Your custom domain is ready to use!

